Before you can use the PayPal plugin, you need to set up your account at PayPal.
Go to PayPal's developer portal.
Login to the dashboard using your PayPal account.
The plugin uses the REST API. Therefore, you need to create a REST API application for the sandbox (the testing environment) and the live site.
Create Sandbox accounts
For testing purposes, you need to setup an account that PayPal will recognize as your business account. Those accounts may have been created by PayPal by default. To make sure you have an account of 'business' type, go to Accounts (under the Sandbox menu). If you don't have any, just click on the Create account button.
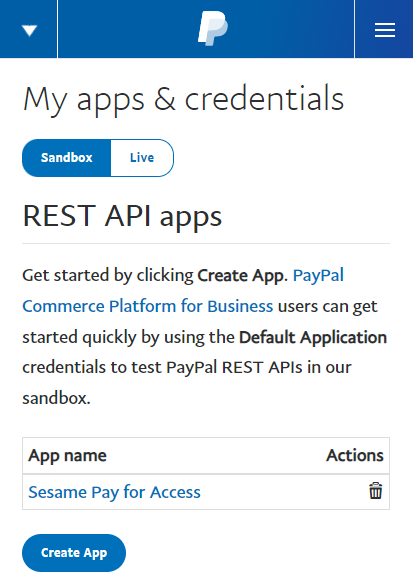
Create a REST API application for testing
Go to My apps & Credentials (under the Dashboard menu). In the REST API apps section, make sure you are in the Sandbox sub-section. Click on the Create App button.
This will give you all you need to facilitate testing of Sesame Pay for Access in conjunction with PayPal:
- a test client ID
- a test secret key
Create a REST API application for the live site
Go to My apps & Credentials (under the Dashboard menu). In the REST API apps section, make sure you are in the Live sub-section. Click on the Create App button.
This will give you all you need to facilitate payments through PayPal:
- a client ID
- a secret key
In the application settings, make sure you have selected the feature options:
- Accept payments
- Customer Disputes
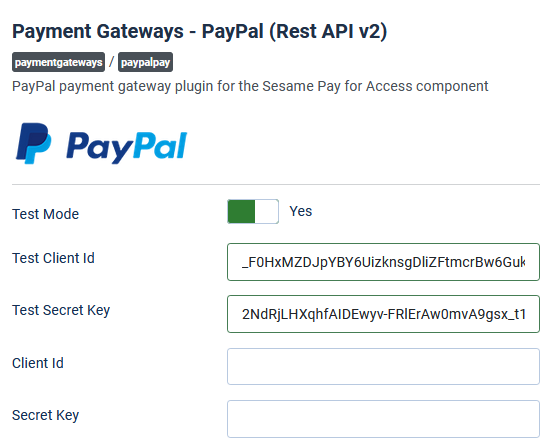
Set the plugin options
You can now fill in the test and live client ids and keys. In the Joomla's administrator console, go to Plugins, filter the list by type (look for the 'Payment Gateways' type), and finally enter the information into the plugin.
Use the Test mode to ensure your configuration is working properly and payments can be made when a user tries to purchase access to a resource.