- Required:
 Trombinoscope Extended v1.5
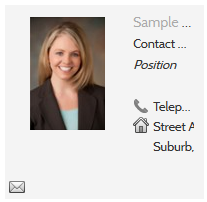
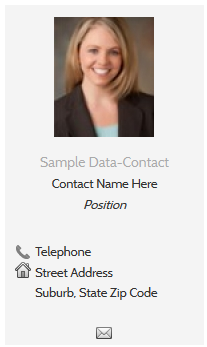
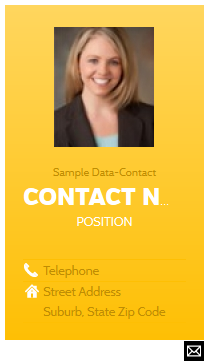
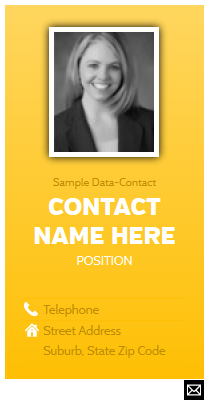
This example will demonstrate, step by step, how a contact card with a business-like look can be easily created with the module extension of the Trombinoscope Extended component.
We are assuming a contact has been created previously through the standard Joomla! Contact component.
Step 1: Go to Extensions -> Module Manager.
Step 2: Click on 'New'. Select 'Trombinoscope Extended'.

Step 3: Fill out the module's detail information.
- Add the title 'Example',
- Select the position of the template the module will fall into.
Step 4: Go to the basic options of the module.
- Select the 'specific contact' option of the 'Selection from' parameter,
- Select the contact you wish to show.

Step 5: Go to the 'Contact Information' tab to select the information you want to show on the card.
- Add 'position' to field 1,
- add 'empty' to field 2 (it will leave a space between fields),
- add 'phone' to field 3 and select 'icon',
- add 'formatted address (full)' to field 4 and select 'icon',
- add 'email' to link field 1.

Step 6: Go to the 'Contact Picture' tab to make it look nicer.
- Set 'Picture alignment' to 'top',
- set 'Crop picture' to 'yes',
- set 'Reset picture' to 'yes' (we will leave it to that setting until we are done modifying the card).

Step 7: Go to the 'Theming' tab. Select 'Theme 4' and the white icon pack (Theme 4 is available as a separate download).

Step 8: Go back to the 'Contact Picture' tab.
- Set the filter to 'grayscale',
- Set the background color to white,
- Set border width to 5,
- Set the shadow to 'yes',
- Go to the 'Contact Information' tab,
- Set 'Force one line' to 'no' in the name format area.

For more information, please download the component's documentation (where all CSS classes that make up a contact card are listed).

