
It is assumed that you have already downloaded and installed the extension (free or pro). If not, you can find more information here on how to do so.
Note There are many options in the extension to give you maximum flexibility in the way you want to design your final output. In this guide, you will be walked through the main parameters that are necessary to create a module instance. You can leave all other parameters to their defaults until you are ready to fine-tune its visual aspect and performance.
Pre-requisites
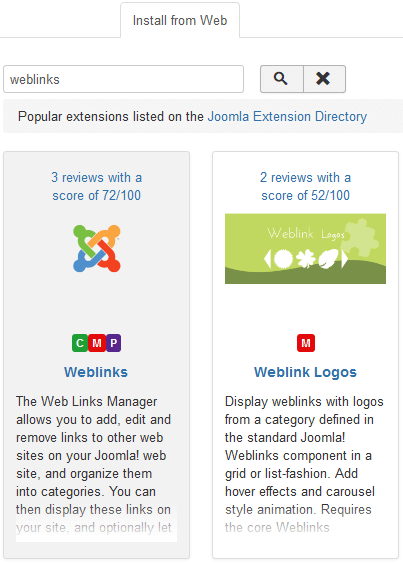
The Weblinks core extension is required (that extension is not bundled with the Joomla! core anymore - since Joomla 3.4 - and must be downloaded separately from the Joomla! Extensions Directory or installed directly from the Install from Web tab of your website).
Step 0a - install the Weblinks component
Step 0b - Create new Web Links
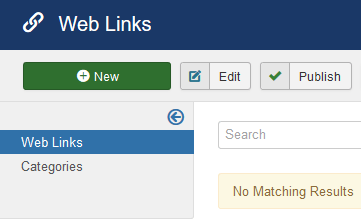
Step 0c - Add images to each Web Link

The First image parameter is mandatory. Any weblink missing it WILL NOT appear in any instance of Weblink Logos.
The Second image, optional, will be used as the image that will show on hover. Note that Weblink Logos can create the hover images automatically.
Step 1 - Create a module instance of Weblink Logos
Go to the menu Extensions -> Modules.
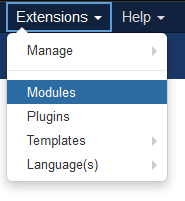
Click on New.
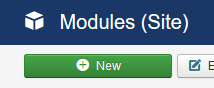
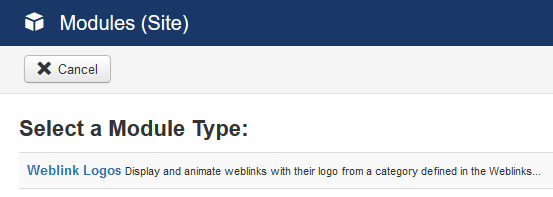
Select the module type Weblink Logos.
Step 2 - Set the module's general parameters
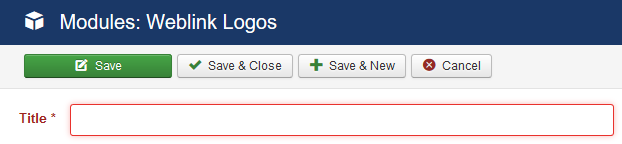
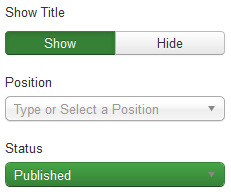
Set the module's title.
Set the module's position.
Step 3 - Assign the module to specific areas of the site
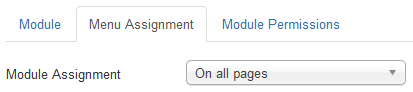
For testing purposes, it is easier to leave the default settings.
Step 4 - Narrow down the list of items you want to show
Click on the Filtering tab.

Select the category or categories the web links come from.
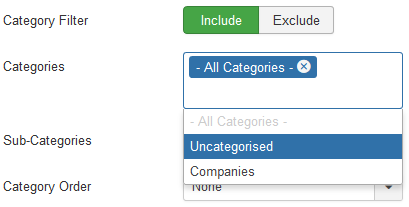
All categories are selected by default, therefore retrieving all existing web links. To select a specific category, select it from the list.
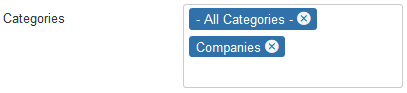
Once selected, remove the All Categories option.

Narrow down the number of items that will be listed by the module instance. Set Max Count to a reasonable amount while you are in the testing stage.

Step 5 - Design the overall layout of the output
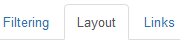
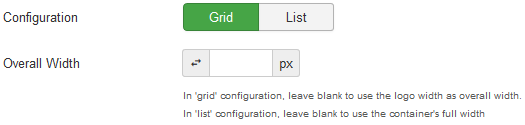
Click on the Layout tab.
Select the configuration you are looking to achieve. In our example, we will show logos in a grid configuration. The size of the logos (that we will specify later) will dictate the size of the grid items that will show on the page.
Step 6 - Set the links behavior
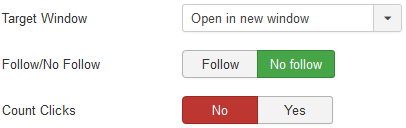
Click on the Links tab.
Usually, web links open in a new window or browser tab. You can also decide if you need to keep a tab on click counts.
Step 7 - Design each individual logo
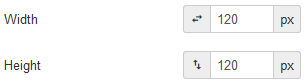
Click on the Logos tab.
Set the width and height of the logos. In this example, the original images are square.
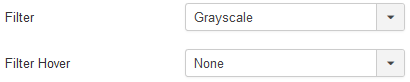
Finally, we need to set the way the images will look in the output. In our example, we will make all logos gray, but we want them to be colored when a visitor clicks on them. Therefore, the Filter parameter will be set to Grayscale and the Filter hover parameter will be set to None (to keep the original image colors).
Step 8 - Save the module
That's it! You went through the minimal amount of information you need to know to create your first instance of the Weblink Logos module.
Let's see what the module instance looks like on the public site: