It is assumed that you have already downloaded and installed the extension (free or pro). If not, you can find more information here on how to do so.
There are many options in the extension to give you maximum flexibility in the way you want to design your final output. In this guide, you will be walked through the main parameters that are necessary to create a module instance. You can leave all other parameters to their defaults until you are ready to fine-tune its visual aspect and performance.
Pre-requisites
Go to the menu ‘Content’ -> ‘Media’.
Create a sub-directory /slides in the Media Manager where all your image slide backgrounds will be located. Note that all images should have the same width and height.

Tip When creating several slideshows and for better organisation, create a top folder /slideshows and a sub-folder for every slideshow.
When creating a slideshow from images only
There are no other requisites.
When creating a slideshow from articles (in the core Joomla content extension)
Create an article category slides that will contain all slides.
Pro Optionally create another category tooltips that will contain the tooltips for the slides.
Tip When creating several slideshows and for better organisation, create a top category slideshows then a sub-category per slideshow.
Create an article per slide under the slides category.
Add content to the articles. Read More will split the content slide in 2 separate columns.

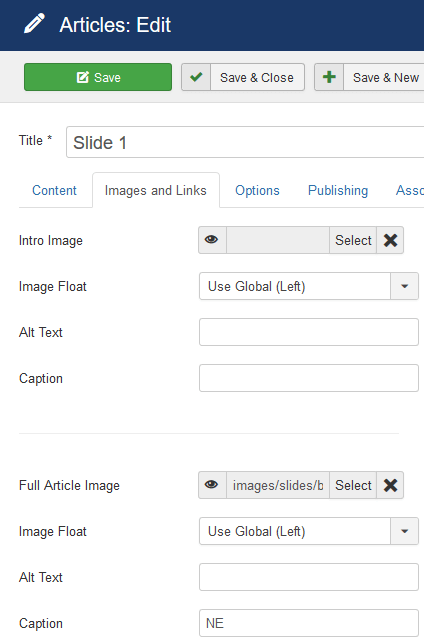
In the Images and Links tab, set the full article image (image coming from the directory /slides). In the Caption field, add the position the text will take in the slide. 'NE' (North East) will place the text in the upper right corner. For the list of all possibilities, check the Caption Configurations section.
Pro To add tooltips, check the Adding Tooltips section.
When creating a slideshow from K2 items (in K2)
Create a K2 category slides that will contain all slides.
Pro Optionally create another category tooltips that will contain the tooltips for the slides.
Tip When creating several slideshows and for better organisation, create a top category slideshows then a sub-category per slideshow.
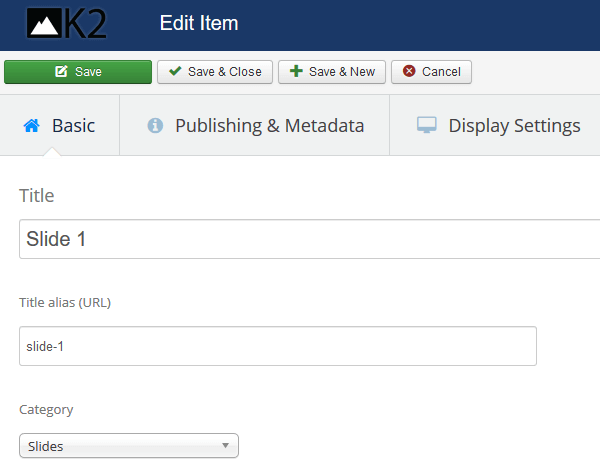
Create a K2 item per slide under the slides category.
Add content to the K2 items. Read More will split the content slide in 2 separate columns.
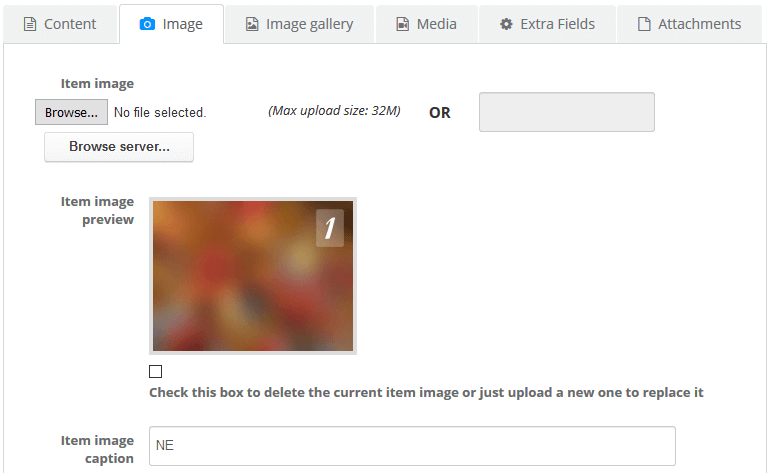
In the Image tab, set the image (coming from the browser server directory /slides). In the Item image caption field, add the position the text will take in the slide. 'NE' (North East) will place the text in the upper right corner. For the list of all possibilities, check the Caption Configurations section.
Pro To add tooltips, check the Adding Tooltips section.
Step 1 - Create a module instance of Truly Responsive Slides or Truly Responsive Slides Pro
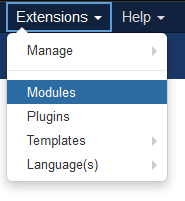
Go to the menu Extensions -> Modules.
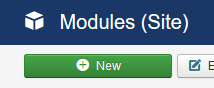
Click on New.
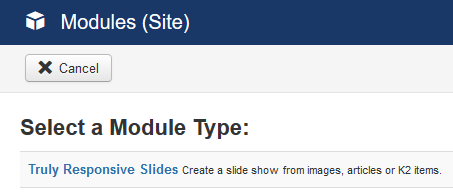
Select the module type Truly Responsive Slides or Truly Responsive Slides Pro.
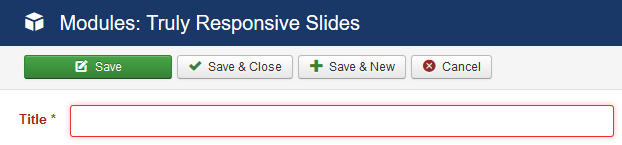
Step 2 - Set the module's general parameters
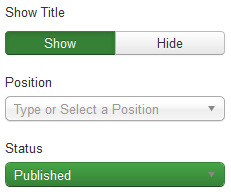
Set the module's title.
Set the module's position.
Step 3 - Assign the module to specific areas of the site
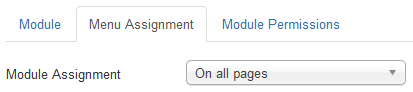
For testing purposes, it is easier to leave the default settings.
Step 4 - Set the source of the data that is used for the slides
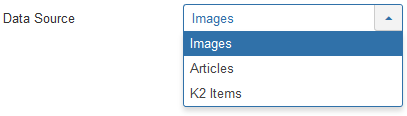
Click on the Data Source tab.

Choose the data source the slides will created from.
Select Images, Articles or K2 Items.
When creating a slideshow from images only
Set the image directory the images come from.

When creating a slideshow from articles or K2 items
Select the category or categories the items come from.

Step 5 - Set the slideshow type
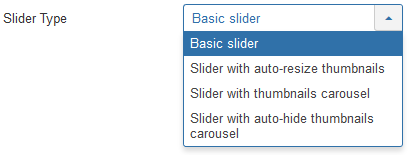
Click on the Slider tab.
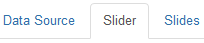
Select the basic slider type.
Step 6 - Set default background image and dimensions
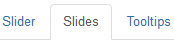
Click on the Slides tab.
Set the default image background. It will allow the module to take into account articles or K2 items that lack an image.

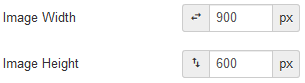
Set the original width and height the images will have before any resizing.
Step 7 - Check the default slide transitions
Click on the Transitions tab.

Change the default values as needed.
Step 9 - Save the module
That's it! You went through the minimal amount of information you need to know to create your first instance of the Truly Responsive Slides module.
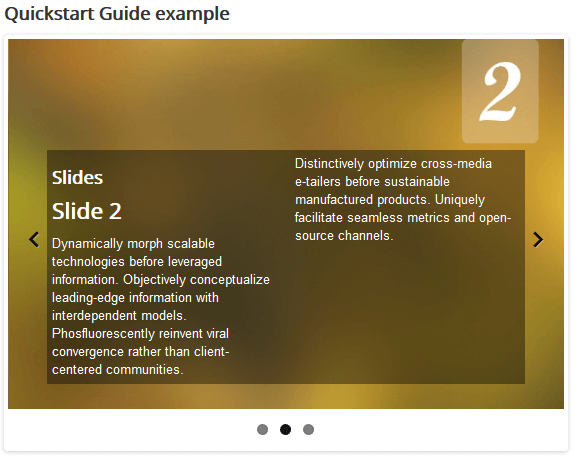
Let's see what the module instance looks like on the public site: